

Introduction
This article covers the process of importing log data from your Splunk instance to DataSet while retaining context. There are two methods to doing this.
Important
The parser provided below is configured to extract the reserved DataSet timestamp parameter from Splunk's result_indextime field. Consequently, logs imported to DataSet will be associated with the same timestamp they had in Splunk and you will need to expand your search to see older entries. Note that logs with a timestamp greater than your retention period will not be stored on DataSet. For example, a log event from 32 days ago will not be stored if your retention period is 30 days.
Upload > 1GB of logs
If you are sending more than 1GB of logs, we recommend using the DataSet S3 import routine.
Prerequisites
- Splunk account
- Access to Splunk CLI
- AWS S3 account
- DataSet account with full access
Instructions
Please follow these instructions to establish an S3 bucket and SQS queue which is capable of importing logs to your DataSet account: https://app.scalyr.com/solutions/import-logs-from-s3
- Set up an S3 Bucket
- Create an SQS Queue and configure your S3 bucket to publish new object notifications to it
- Configure IAM permissions (See this section for DataSet-specific permissions)
- In DataSet, setup an S3 Monitor (click the User Menu -> "Monitors" -> "Edit JSON" button)
Your monitor config will be similar to the following example:
monitors: [ { type: "s3Bucket", region: "us-east-1", roleToAssume: "arn:aws:iam::account-id:role/role-name-with-path", queueUrl: "https://sqs.us-east-1.amazonaws.com/nnnnnnnnnnnn/scalyr-s3-bucket-foo" fileFormat: "text_gzip", hostname: "foo", parser: "foo" } ] - Configure the parser (click the User Menu -> "Manage Logs" -> "Parser" -> "Add Parser" -> Enter "splunk-json"). You can use the following example parser or create your own:
// Parser for log files containing JSON records.
{
  attributes: {
  // Tag all events parsed with this parser so we can easily select them in queries.
  dataset: "splunk"
},
formats: [
{
     format: "${parse=json}$", repeat: true
rewrites: [
     {
        input: "result_indextime",
        output: "timestamp",
        match: ".*",
        replace: "$0"
     },
     {
       input: "resultSource",
       output: "logfile",
       match: ".*",
       replace: "$0"
     }.
     {
       input: "resultHost",
       output: "serverHost",
       match: ".*",
       replace: "$0"
     }
    ]
   }
 ]
} - Export the Splunk log file
cd /opt/splunk/bin
./splunk search "query" -output json -maxout 0 >scalyr_testuat_s3.log - Compress log file into multiple files
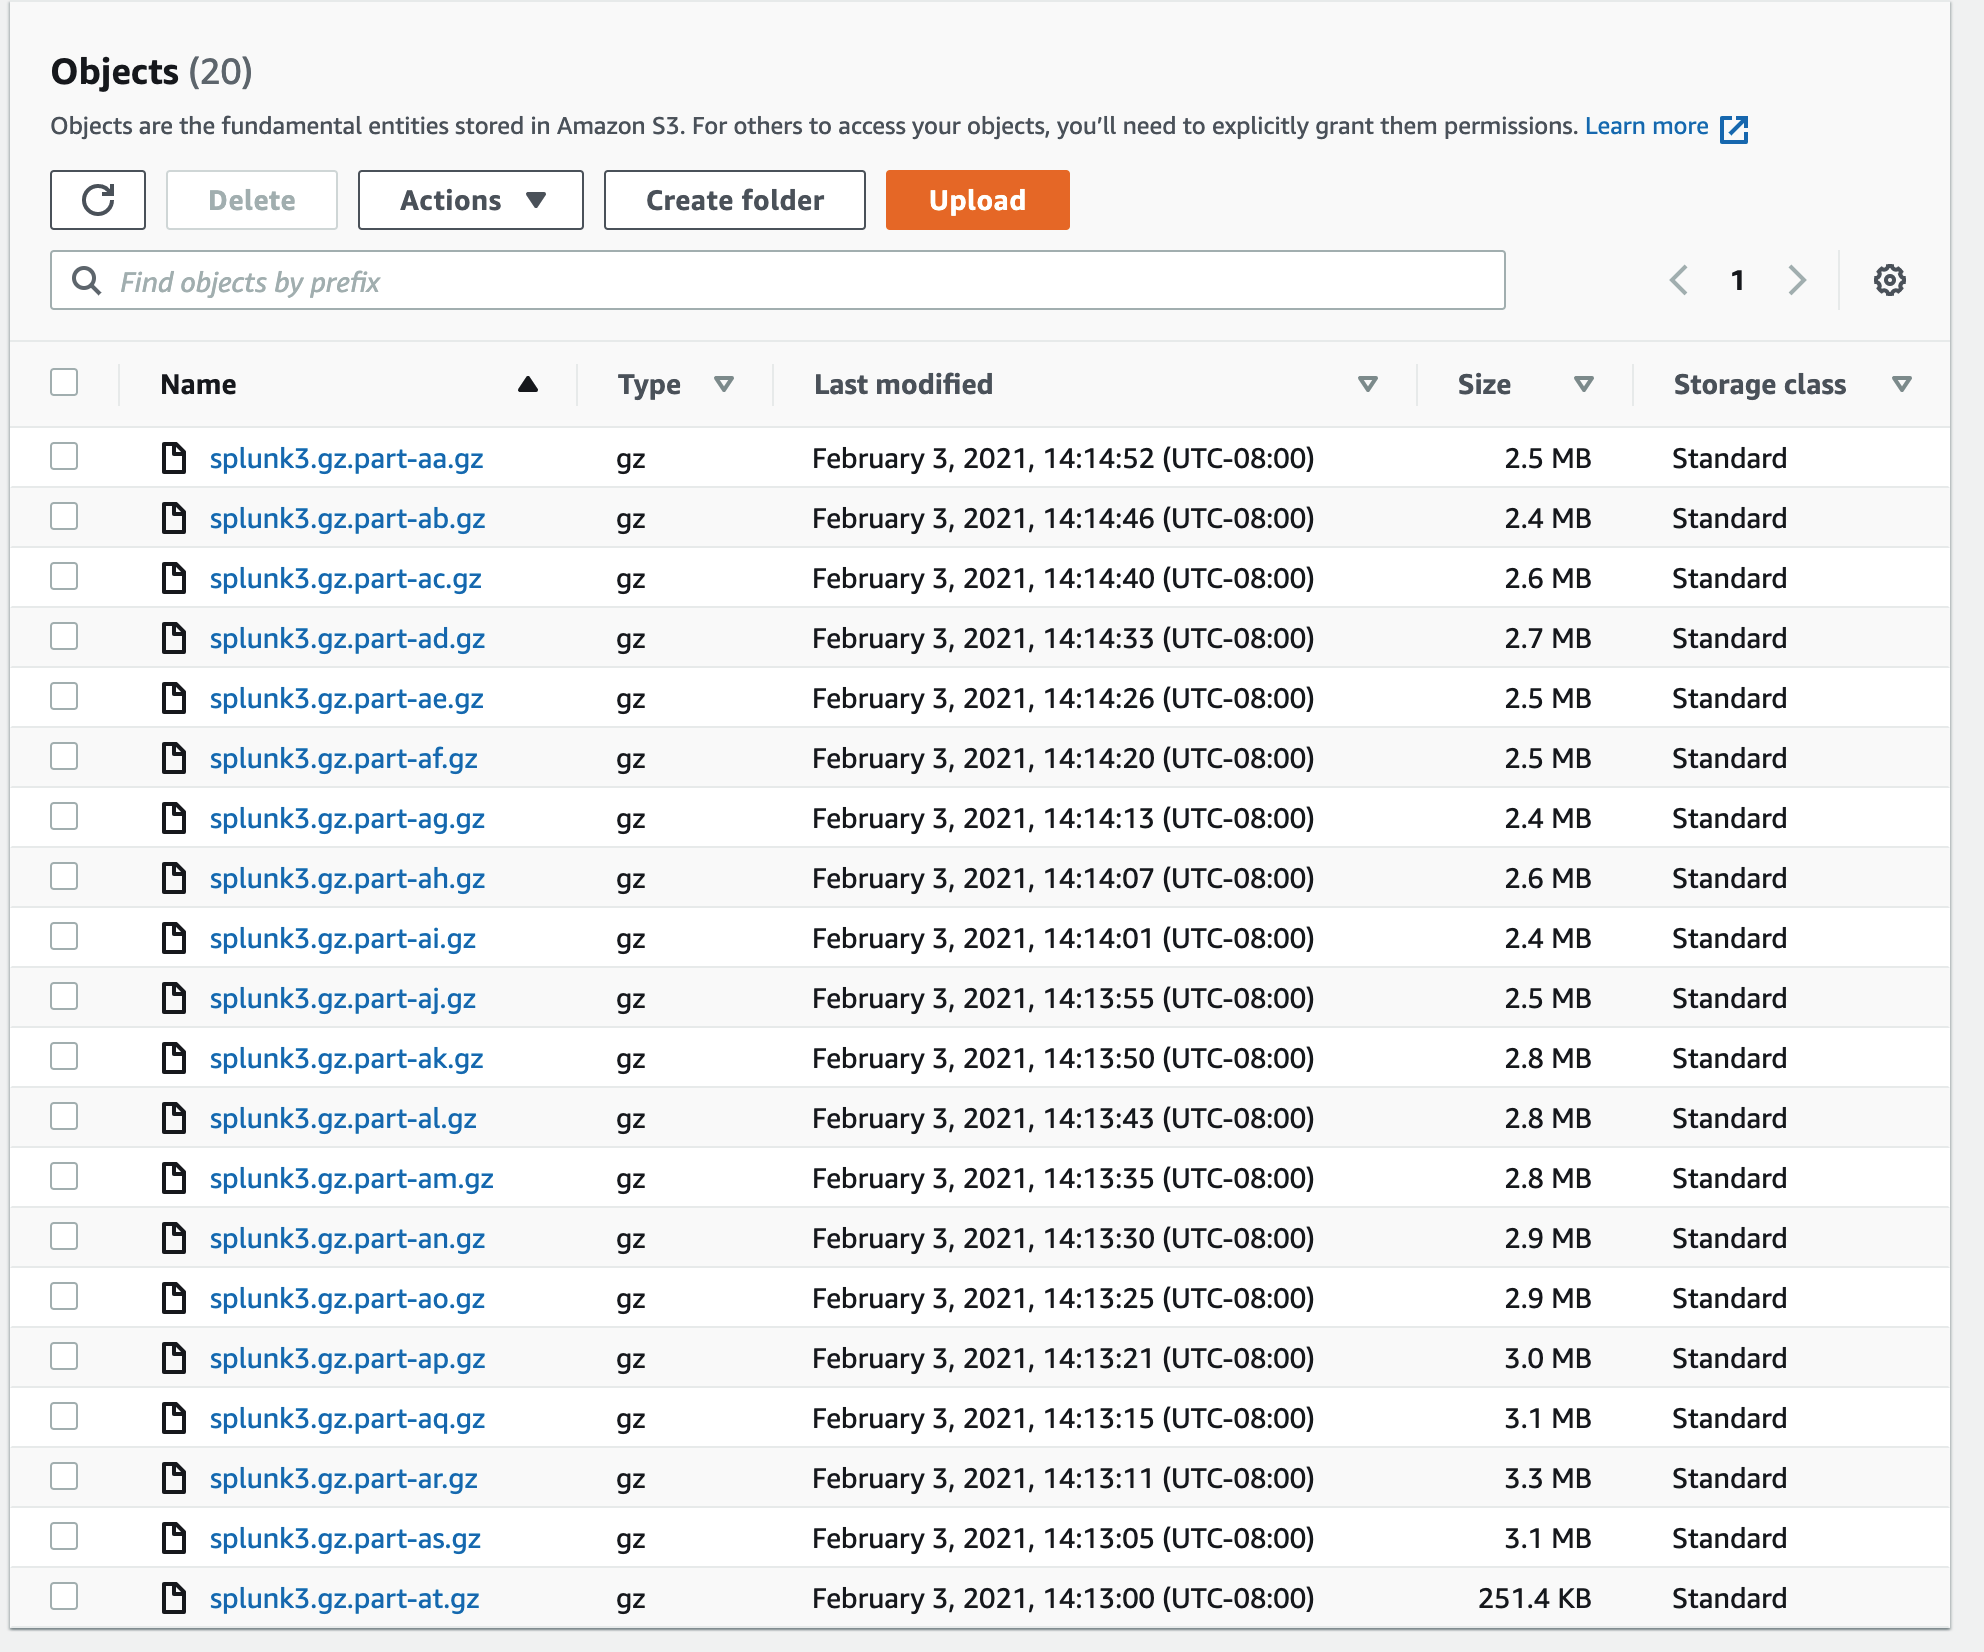
split -l 40000 "scalyr_testuat_s3.log" "splunk3.gz.part-" && gzip -9 splunk3.gz.part*
- Add log files to your S3 bucket
Upload < 1GB of logs
If you are uploading less than 1GB of logs, you can export them from the Splunk CLI or UI as JSON objects and configure the Scalyr Agent to stream it to Scalyr.
Prerequisites
- Splunk
- Access to Splunk CLI
- Scalyr Agent
- DataSet account with full access
Objectives
Migrate this Splunk data to DataSet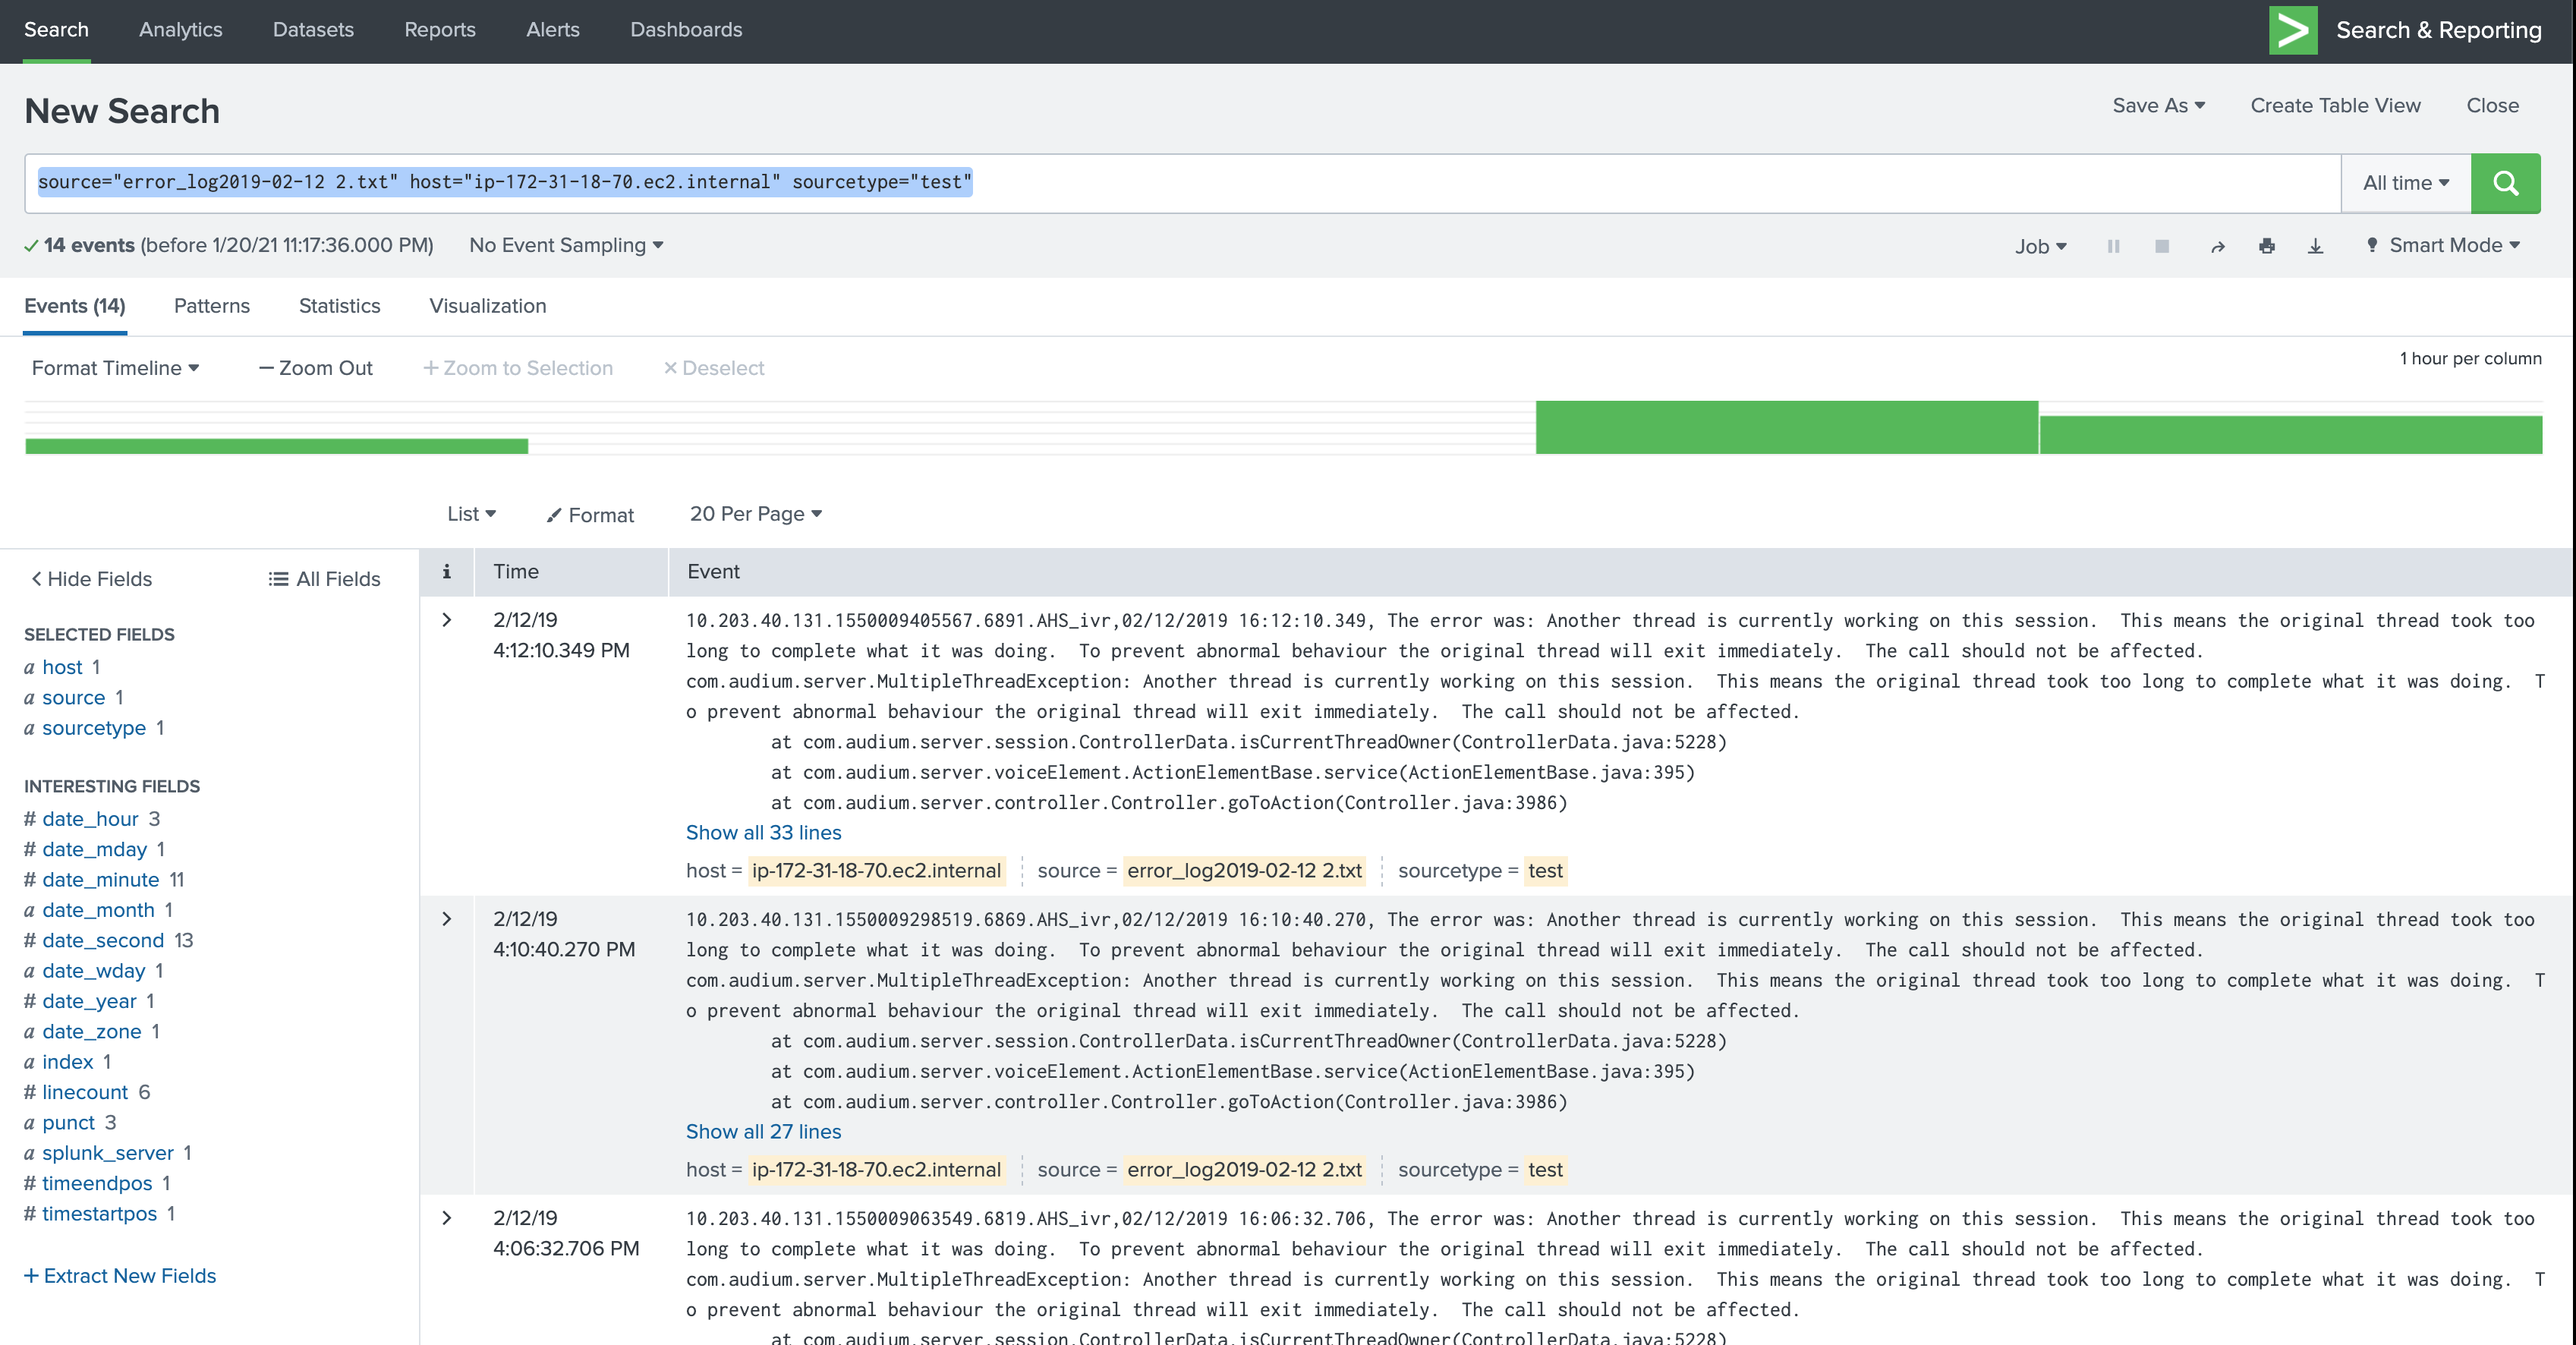
Splunk Configuration
- Define the query in Splunk for the data you want to export. For example,
index=*
- Navigate to your Splunk instance and invoke the CLI
cd /opt/splunk/bin
./splunk search "query" -output json -maxout 0
DataSet Configuration
- Install the Agent
curl -sO https://www.scalyr.com/install-agent.sh
You can access your API key by clicking the User Menu -> "API Keys" -> Select one with "Write" log access
sudo bash ./install-agent.sh --set-api-key "api-key"
sudo scalyr-agent-2 start - Configure the Agent
Note: Intead of vim, feel free to use a text editor of your choice
vim /etc/scalyr-agent-2/agent.json
Configure the agent to point to a directory and specify the name of the parser you will be using ("splunk-json" in this example):
{
  path: "/opt/splunk_export/*.log",
  attributes: {parser:"splunk-json"}
} - Configure the parser (click the User Menu -> "Manage Logs" -> "Parser" -> "Add Parser" -> Enter "splunk-json"). You can use the following example parser or create your own:
// Parser for log files containing JSON records.
{
  attributes: {
  // Tag all events parsed with this parser so we can easily select them in queries.
  dataset: "splunk"
},
formats: [
{
     format: "${parse=json}$", repeat: true
rewrites: [
     {
        input: "result_indextime",
        output: "timestamp",
        match: ".*",
        replace: "$0"
     },
     {
       input: "resultSource",
       output: "logfile",
       match: ".*",
       replace: "$0"
     }.
     {
       input: "resultHost",
       output: "serverHost",
       match: ".*",
       replace: "$0"
     }
    ]
   }
 ]
} - Once the agent is installed and configured and the parser is installed and configured, we are ready to export.
Export logs from Splunk
- Export data from Splunk to Scalyr by entering the command from above and pointing it to the file we just configured. Note: For the Splunk search command, set the -maxout value to 0 for unlimited output. If there are issues with the dataset, you can use the dump command)
./splunk search "index=_internal earliest=mm/dd/yyyy:hh:mm:ss latest=mm/dd/yyyy:hh:mm:ss " -output rawdata -maxout 0 > /opt/splunk_export/output.log
- Since we configured the Agent to look for files within the /opt/splunk_export/ directory ending in .log, it will upload the logs as they are directed to the output.log file
- Uploaded logs should now be visibile from your DataSet account.
Comments
0 comments
Please sign in to leave a comment.